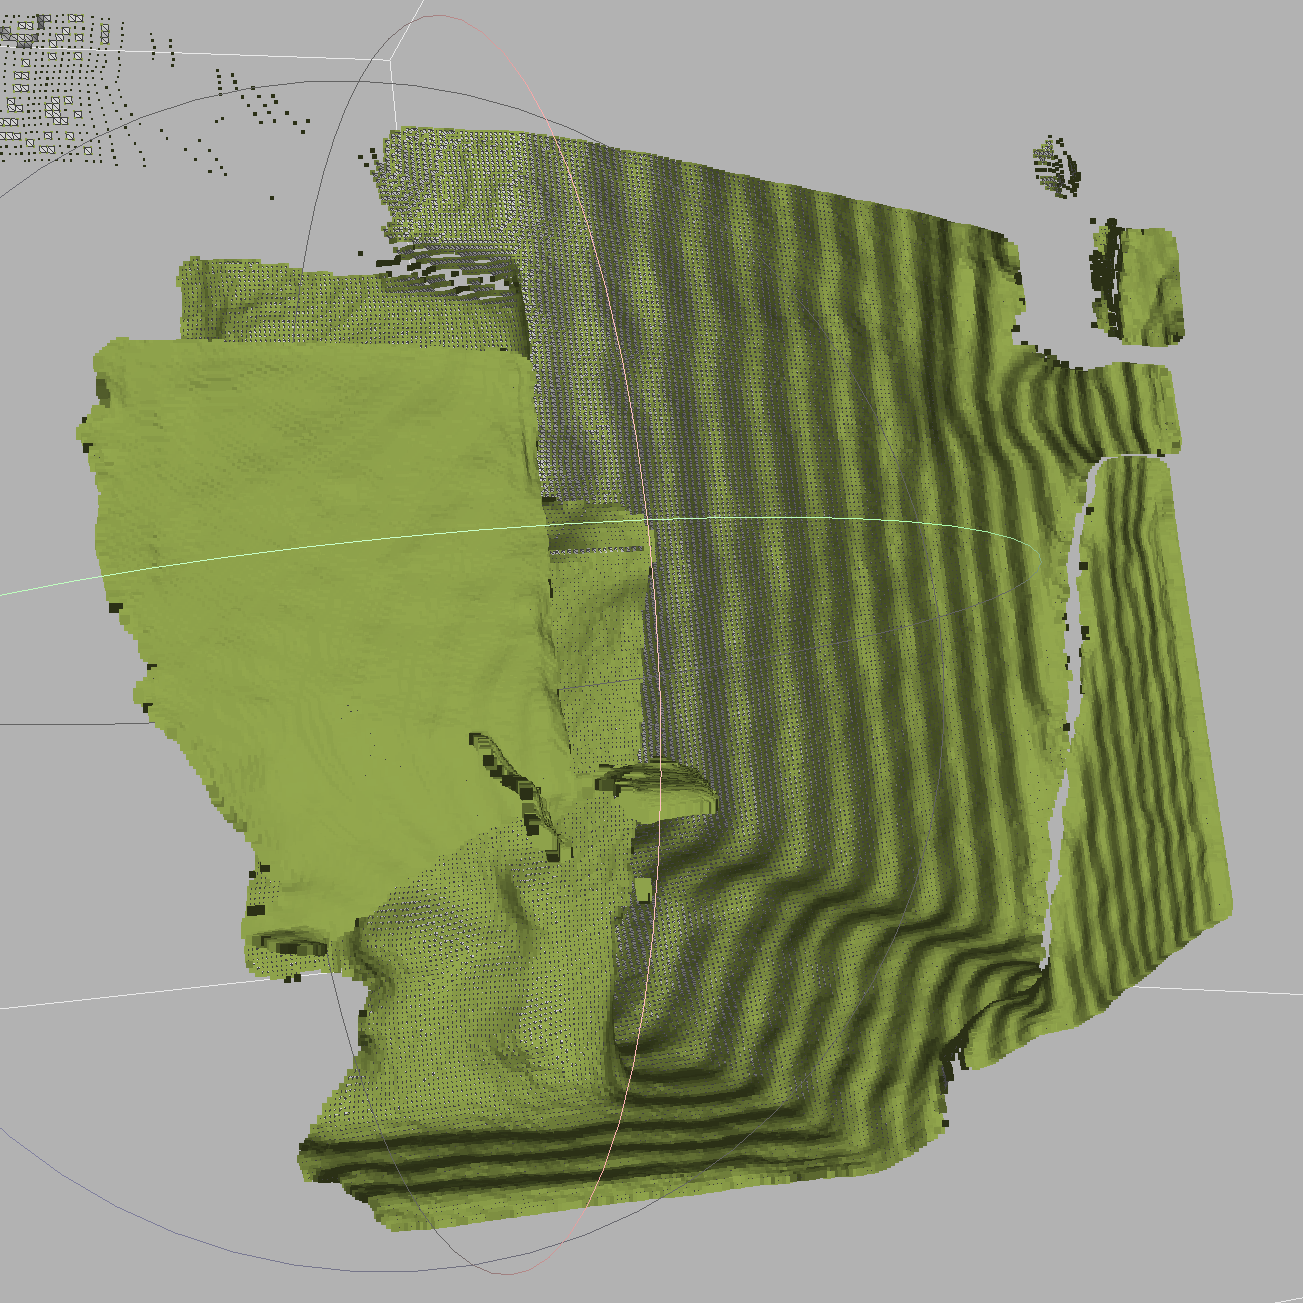
使用Intel Realsense2 SDK 及 L515激光雷达或 D455深感相机自动保存.ply格式的深度点云信息文件
需求:对cMake,C++,点云格式以及 Realsense2 SDK 的基本了解
实验项目需要使用Raspberry树莓派终端连接Intel深感设备来采集静态的点云文件,对采集速度和程序稳定性有要求,越快越好。此处选择使用c++搭配Realsense2 SDK进行开发,并且为最大化数据采集速度,对SDK进行了修改以保存没有纹理信息的点云文件,分别在笔记本x86平台与Raspberry ARM平台进行测试。
2. 实现方法
手动设置深度流的分辨率并开启信息流,此处取最小分辨率以最大化数据获取速度,不同型号的设备支持的分辨率会有不同,例如L515的最低深度分辨率为360*240而D455则为424*240。默认的深感分辨率约为640*480,所以取最小值时的数据处理量约为默认值的1/4。
rs2::pipeline pipe;
rs2::config cfg;
if (config.if_lowres() == 0) {
    cfg.enable_stream(RS2_STREAM_DEPTH, 640, 480, RS2_FORMAT_ANY, 0);
} else if (config.if_lowres() == 5) {
    cfg.enable_stream(RS2_STREAM_DEPTH, 424, 240, RS2_FORMAT_ANY, 0);
} else {
    cfg.enable_stream(RS2_STREAM_DEPTH, 320, 240, RS2_FORMAT_ANY, 0);
}
pipe.start(cfg);
获取深度帧和图像帧,为之后根据输入的参数决定保存哪些数据作准备,这样如果只保存点云文件的话就可以省略其他数据以最大化数据获取速度。
rs2::frameset frames = pipe.wait_for_frames();
auto depth = frames.get_depth_frame();
auto color = frames.get_color_frame();
根据使用者输入的参数决定是否保存纹理信息, export_to_ply_notexture为新加入SDK的函数。
if (ifColor == 1) {
    // Map the point cloud to the given color frame
    pc.map_to(color);
    // Generate the point cloud
    rs2::points points = pc.calculate(depth);
    // Export the point cloud to a PLY file with colors
    points.export_to_ply(ply_file.str(), color);
} else if (ifColor == 0) {
    // Generate the point cloud
    rs2::points points = pc.calculate(depth);
    // Export the point cloud to a PLY file without colors
    points.export_to_ply_notexture(ply_file.str());
}
根据输入的参数决定是否保存图像信息。默认会保存深度,红外和普通照片三种图像文件以及点云文件。为最大化数据保存速度,此处我们可以选择只保存点云文件。
for (auto&& frame : frames)
{
    // We can only save video frames as pngs, so we skip the rest
    if (auto vf = frame.as<rs2::video_frame>())
    {
        // Use the colorizer to get an rgb image for the depth stream
        if (vf.is<rs2::depth_frame>()) vf = color_map.process(frame);

        // Write the corresponding images to disk, according to the given parameters
        std::stringstream png_file;

        if (vf.get_profile().stream_name() == "Depth") {
            if (ifDepth) {
                png_file << direction << currenttime << vf.get_profile().stream_name() << ".png";
                stbi_write_png(png_file.str().c_str(), vf.get_width(), vf.get_height(), vf.get_bytes_per_pixel(), vf.get_data(), vf.get_stride_in_bytes());
                std::cout << "Saved " << png_file.str() << std::endl;

                // Record the metadata
                std::stringstream csv_file;
                csv_file << direction << currenttime << vf.get_profile().stream_name()
                         << "-metadata.csv";
                metadataToCsv(vf, csv_file.str());
            }
        }

        if (vf.get_profile().stream_name() == "Infrared") {
            if (ifInfr) {...}
        }

        if (vf.get_profile().stream_name() == "Color") {
            if (ifImages) {...}
        }
    }
}
保存后的点云文件可以使用meshlab等软件浏览编辑,或作为各种分析算法的输入数据。详细的数据构成会在下一篇讨论对点云文件进行几何平面分析的文章进行介绍。

3.基准测试
这里做一些基础的测试以对比默认保存方式和改进后的数据保存方式在速度上的差别。先进行x86平台的基准测试,计算每次保存的平均用时。
平台配置:Ubuntu 20.04.2 LTS 5.4.0-70-generic,i5-1035G7 CPU @ 1.20GHz,NVMe Micron CT1000P1SSD8
普通方式(保存三个图片文件以及一个默认配置的点云文件):0.8s
./datasaving -r 1 -d 1 -f 1 -c 1 -l 0
只保存默认配置的点云文件:0.55s
./datasaving -c 1 -l 0
只保存省略纹理信息并缩小了分辨率的点云文件:0.1s
./datasaving -l 1
对于一些不需要点云的颜色信息和分辨率的情况,数据的采样速度可以接近每秒十次,相对于普通保存方式的加速比达到800%。即使需要完整的点云文件以及图像文件,使用本程序也可以获得比官方保存方式(每次大于等于一秒,未验证)更快的保存速度。
我们也在使用sd卡作为存储介质的Raspberry 3 上进行了测试,在保存最小文件的情况下,平均用时约为0.4s。考虑到其性能远低于x86平台,可以认为这是一个令人满意的结果。
4. 可靠性
对于在无人职守环境下类工业化的应用,考虑程序意外退出/断电重启等问题发生的可能性。设计一个.bash程序,目的:
1,如果已保存的数据数量未达到目标数量,则持续监测后台进程,如发现进程消失(如意外退出或重启)则自动重新启动进程
2,重启进程时自动使用上次设置的变量,根据目标数据量和已保存的数据量自动计算还需保存的数据量。
#!/bin/bash
while true
do
  # find a particular process, excluding this process itself
  ps -ef | grep "datasaving" | grep -v "grep" | grep -v "nautilus"
# compare the returned value with 1 (the process is found or not)
  if [  "$?" -eq 1  ]
  then
    # read all lines in parameters' file into an array
    mapfile data <parameters.txt

			# extract the 2 parameters
			n="${data[0]}"
			i="${data[1]}"

			# check if all works are done
			if [  $n -eq 0  ]
			then
			exit 0
			fi

			# length of the array
			leng=${#data[@]}

			# calculate how many groups of data is there to be saved yet
			if [ $n -ne -1 ]; then n=$((n - leng + 2)); fi

			# restart the process
			(./datasaving -i $i -n $n)
    echo "process restarted"

  else
    echo "process exists"
  fi
  sleep 10
done
测试:手动kill数据保存进程后可以自动重新启动。如果需要进入系统后自动进行数据保存则需要将此.bash程序加入rc.local文件